While I was away, we took a road trip and visited my parents. They wanted some changes made to their bedroom decor, so before we left I put together a terrible Photoshop rendering of some ideas and picked up some things at IKEA. (The closest IKEA to them is 4 1/2 hours away. Poor people.)
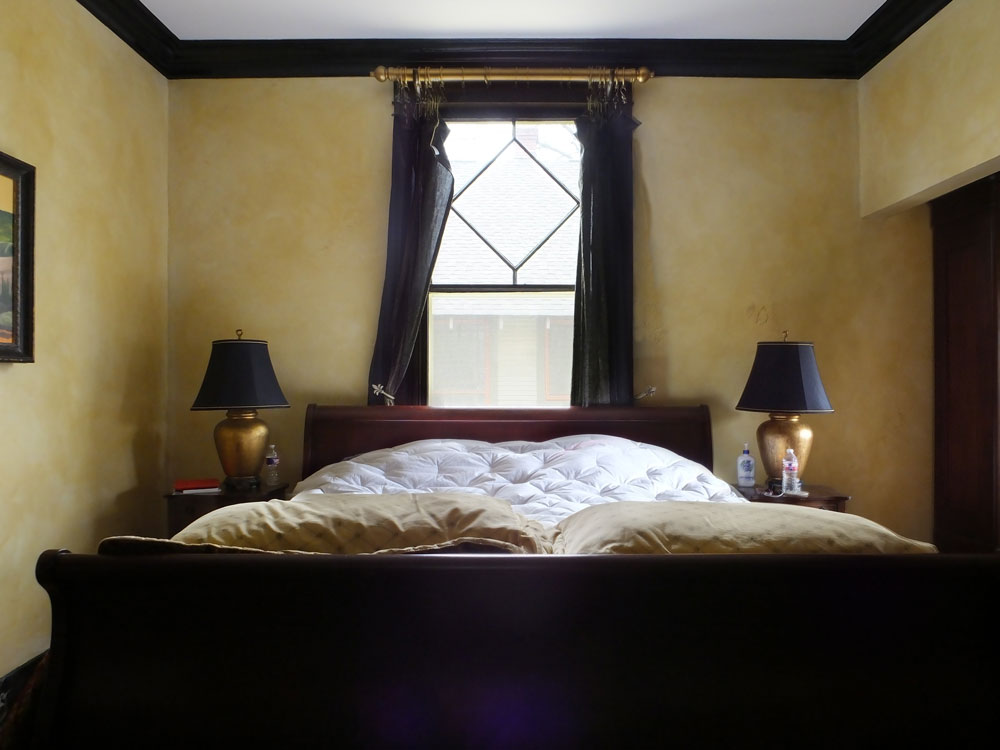
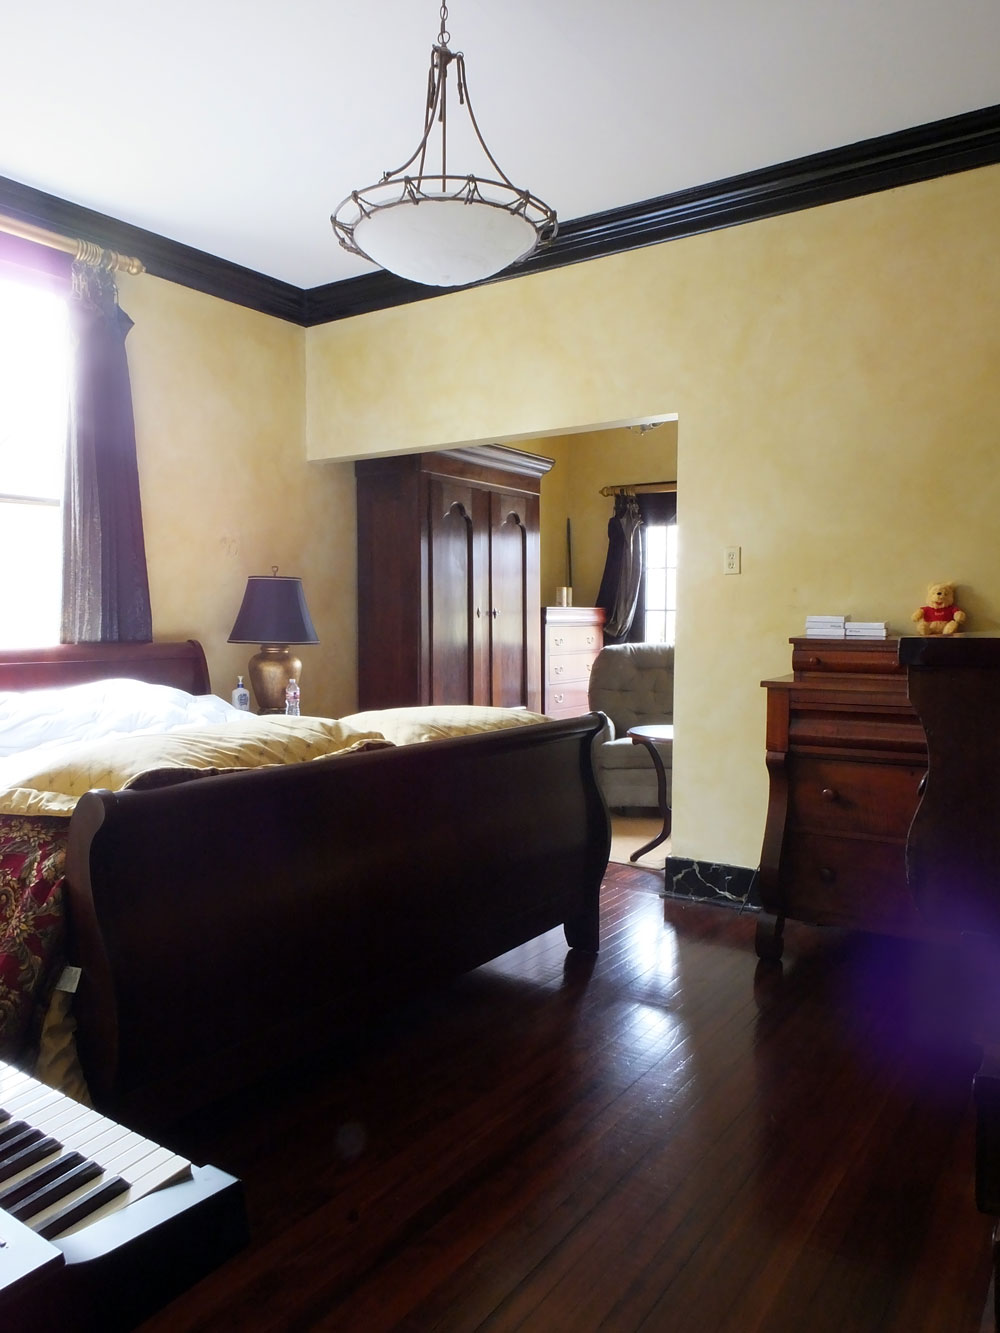
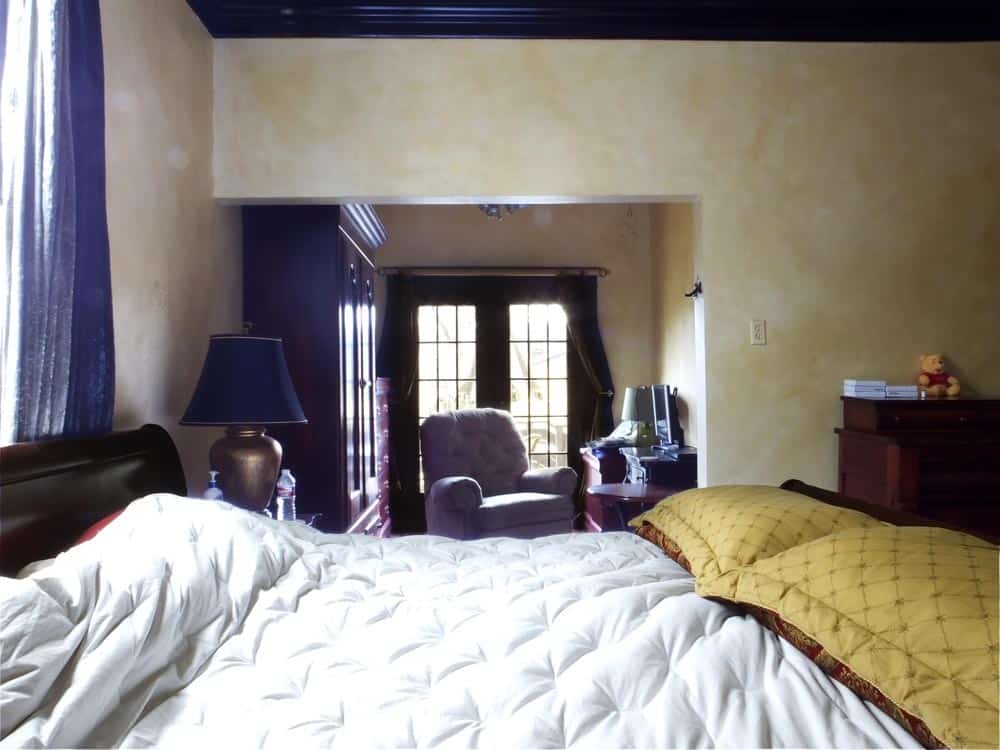
But here is where we started. The room was decorated with traditional style in mind, in the late ’90s.
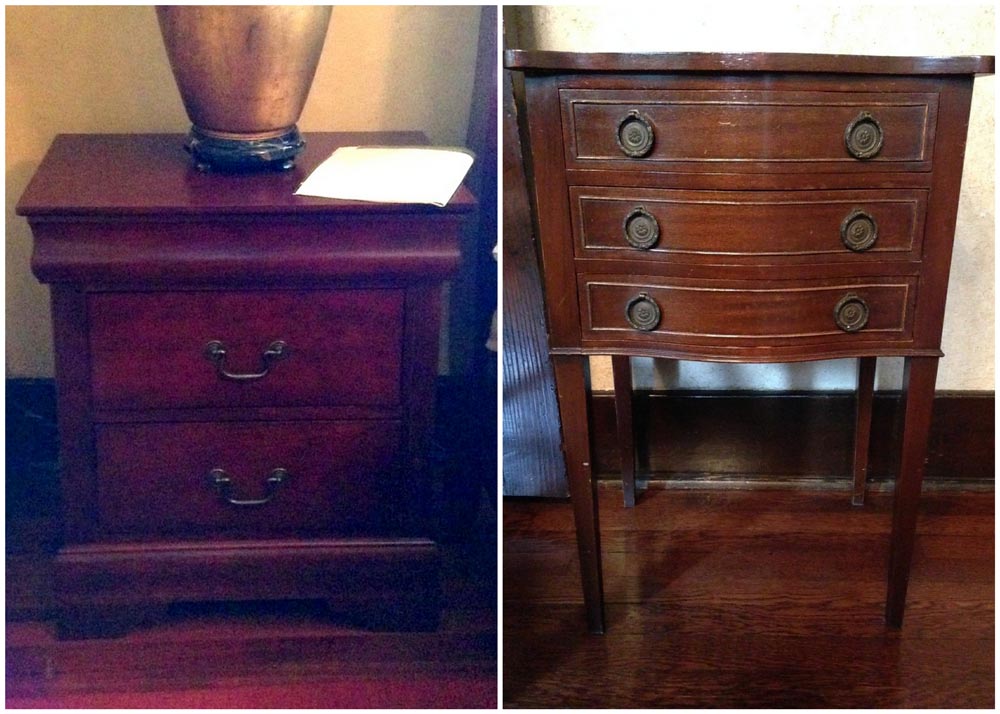
They had an abundance of furniture. Most of them are nice vintage pieces. But they’re also all so bulky and have a lot of visual weight. They had her grandmother’s night stands that were dainty and Hepplewhite (?) style, but they thought they needed bulky, visually heavy pieces to match the bed and armoire. As I’ve mentioned before, furniture doesn’t need to match, it needs to balance each other.
I explained it to them this way: it’s like having a party and only inviting type A people. Everyone is a commanding presence. Everyone there has something to say, but there’s nobody there to listen and add the breathing room. And each of their large, heavy furniture pieces were the commanding presence, they were all competing for attention, and without the laid-back, non-focal-point types to balance them out, the room was overwhelming.
Of course, we didn’t want to get rid of the antiques, so we just rearranged the room so they wouldn’t be the focal point anymore. (As a side-note: in a bedroom, the bed and bed area should almost always be the focal point.)
We brought back the dainty vintage side tables. What they had is on the left (sorry for the low-quality…long-distance decorating has challenges).
In their defense, the sitting room wasn’t normally this cluttered, it had furniture they were hoping to get rid of. We posted the dressers and nightstands on Craigslist and they were gone in a heartbeat.
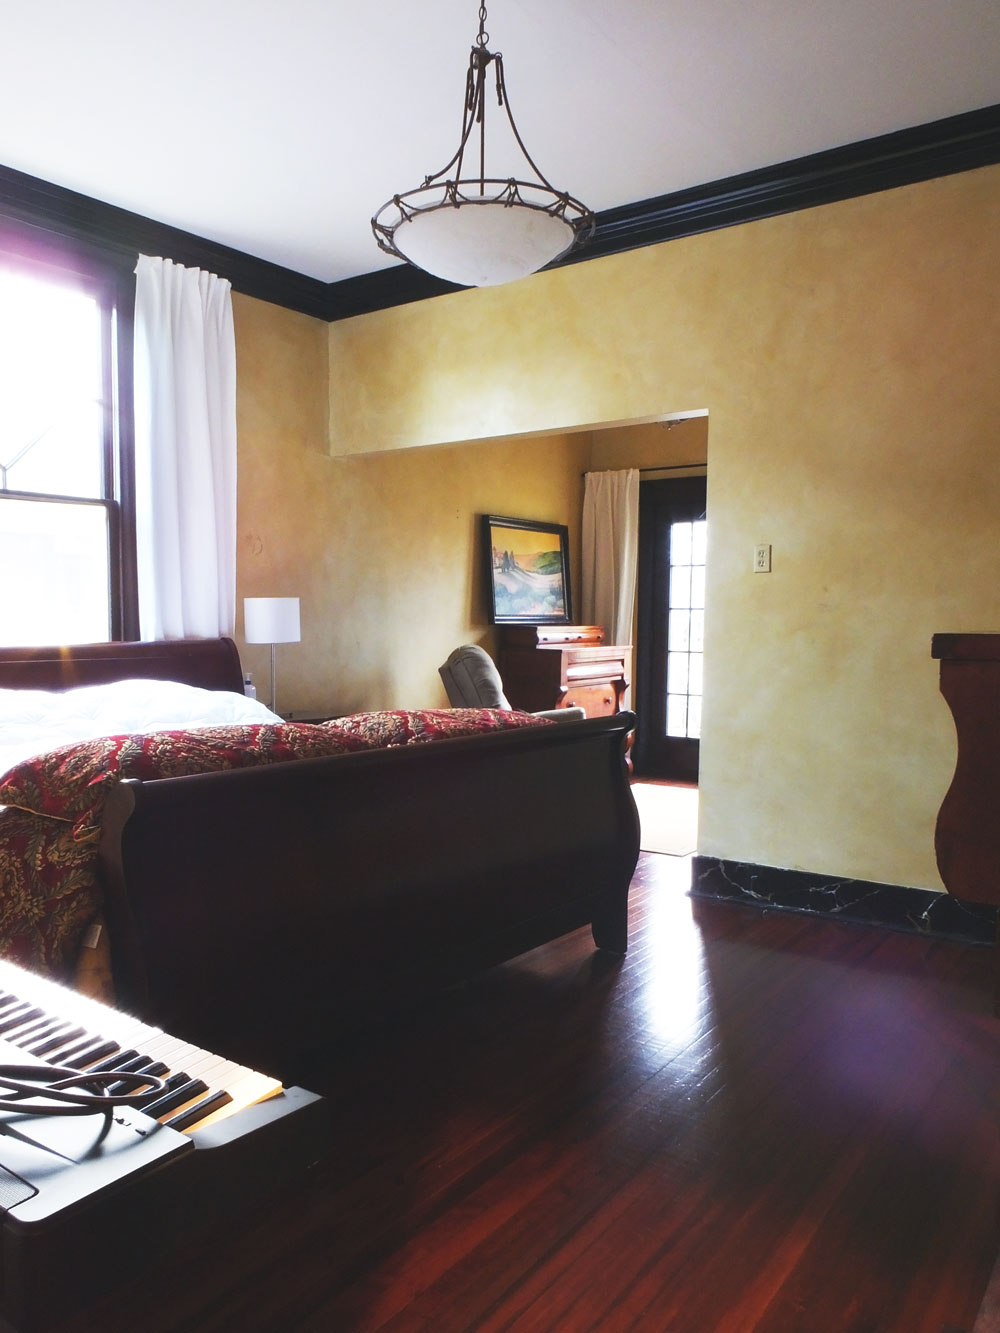
Now the after photos:
We still have more to do in here. We’re going to be looking for a big, creamy-colored rug to go under the bed to lighten and soften the room (and of course, provide comfort), and new bedding.
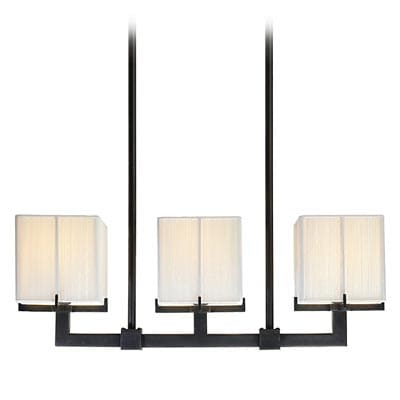
And they really, really wants to replace the light fixture. We’re not sure yet if we’re going to go with something more simple and transitional or something with more of a Craftsman style to go with the house itself. Along the lines of these lovely lights (similar here):

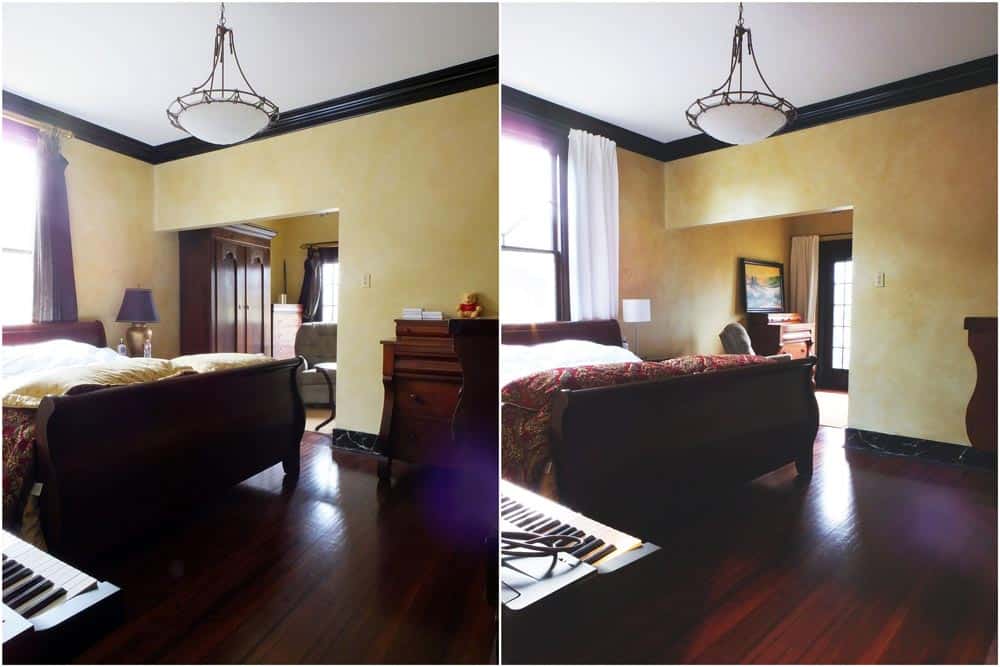
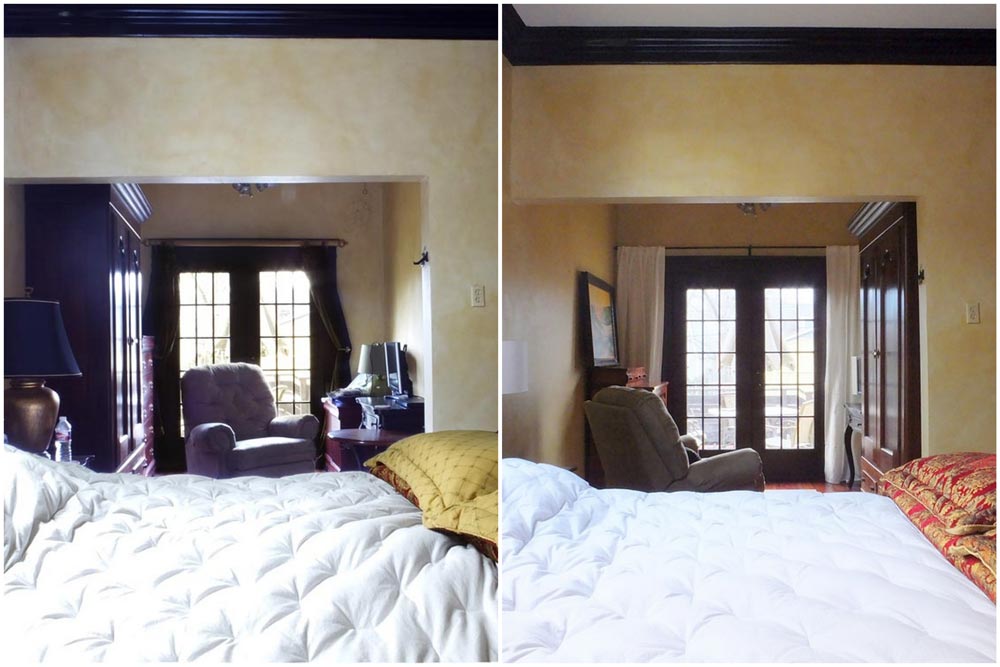
I should also mention that this makeover has only cost $120 so far. All we purchased were the new curtains, curtain rods, and lamps (all from IKEA). Here are some before-and-afters so you don’t have to scroll:
I still recommend a new transitional-style cover for the bed in a lighter color, but with pattern and texture, the aforementioned rug, a less bulky chair, and some fresh paint so that the new white accents flow better. But this was a good start for less than $150!
A few years ago, we gave their living and dining rooms makeovers too, you can see them here: living room, dining room.
We will also be working on Mom’s craft room, which we started a plan for a year ago, but it was put on hold, and now we’re going in a different direction. I’ll post about that when that project is resumed.
They said the office is next, and I’m really excited about that room!







Moving the wardrobe to the other side was a great idea!
Thanks! That one thing made such a huge difference.
Lovely changes! It does look lighter. I love the light fixture on the left. I think it has the right lines to “marry” the vague “tudor-craftsman” going on with the current direction you’re going. The trilight actually looks too heavy and busy, to my eye. Your Dad is absolutely right–what’s there now is far to “tuscan.” Any plans to re-paint? That would be a dramatic change.
Thanks Alana! Yes, Tuscan was what they were going for–right when it was at its peak in the 90s.
No plans to repaint at the moment. At least in person, the walls are more subtle and less bright yellow than in my not-expertly-taken photos. 🙂
Your side by side photos were most helpful to truly see and appreciate the difference. I am always pleasantly surprised what white can do. It calms and blends. End result was much more beckoning and relaxing. Nice job!
Thank you, Valerie.
Wow! This looks great! I always get excited whenever I see how wonderful transformations look. Great post!
That was one of the best uses of $120 I’ve ever seen! Lovely, warm and inviting space (and I love the paint too).